A Step-by-step Guide to Creating Videos with D-ID
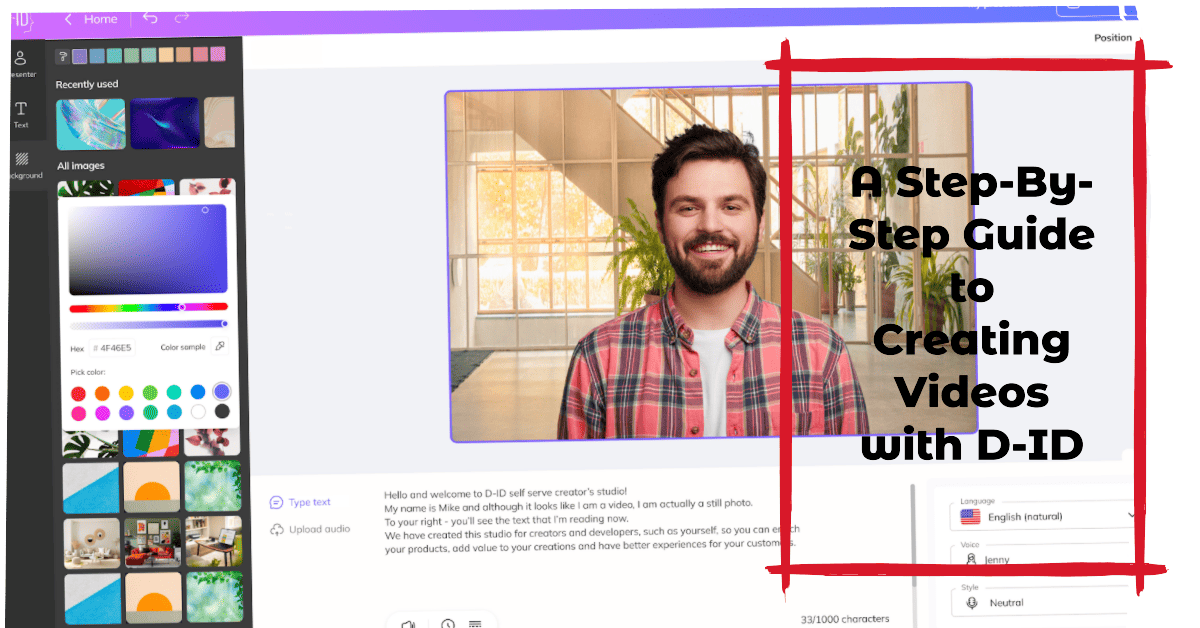
Are you ready to explore the revolutionary capabilities of our AI video creation platform? With D-ID’s Creative Reality™ Studio, you can turn photos into lifelike, talking avatars, and generate high-quality presenter-led video content. We’ve recently added some amazing new features to let you boost your creativity even further. In this post, we will introduce you to the best workflow to get you creating jaw-dropping videos with the power of generative AI.
What’s new?
D-ID’s Creative Reality™ Studio has been updated with a new look and exciting features that provide more control over your AI avatars. Now, you can choose your avatar’s expressions as well as your video’s layout with our new canvas feature. Arrange elements in your video using layers, precisely place your content with positioning tools, and adjust the visibility of elements with the new transparency feature. Let’s explore these features step-by-step and in more detail.
Let’s get started!
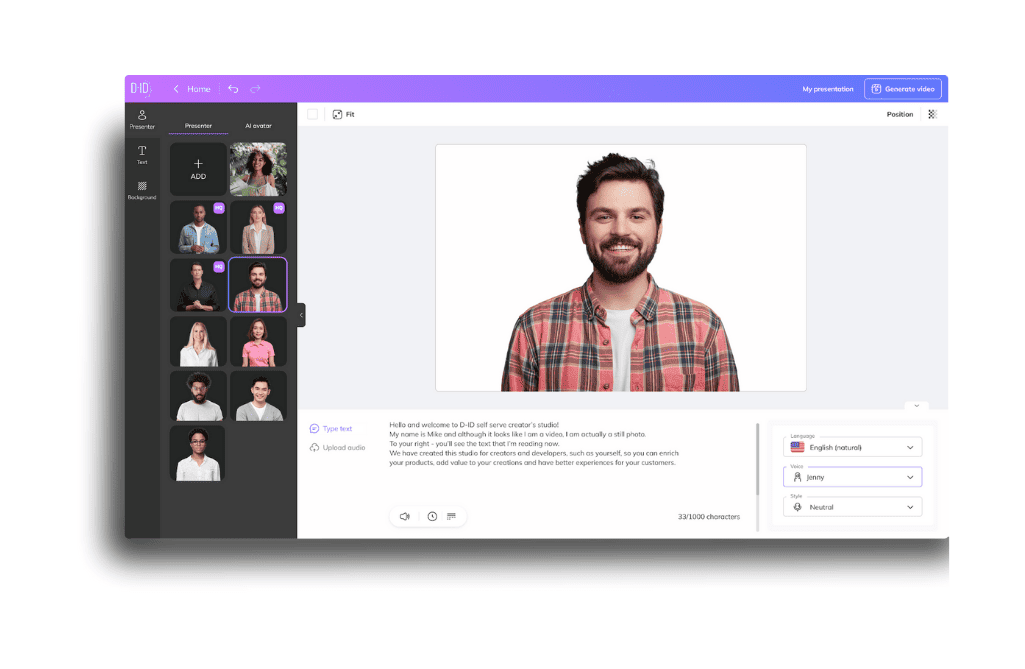
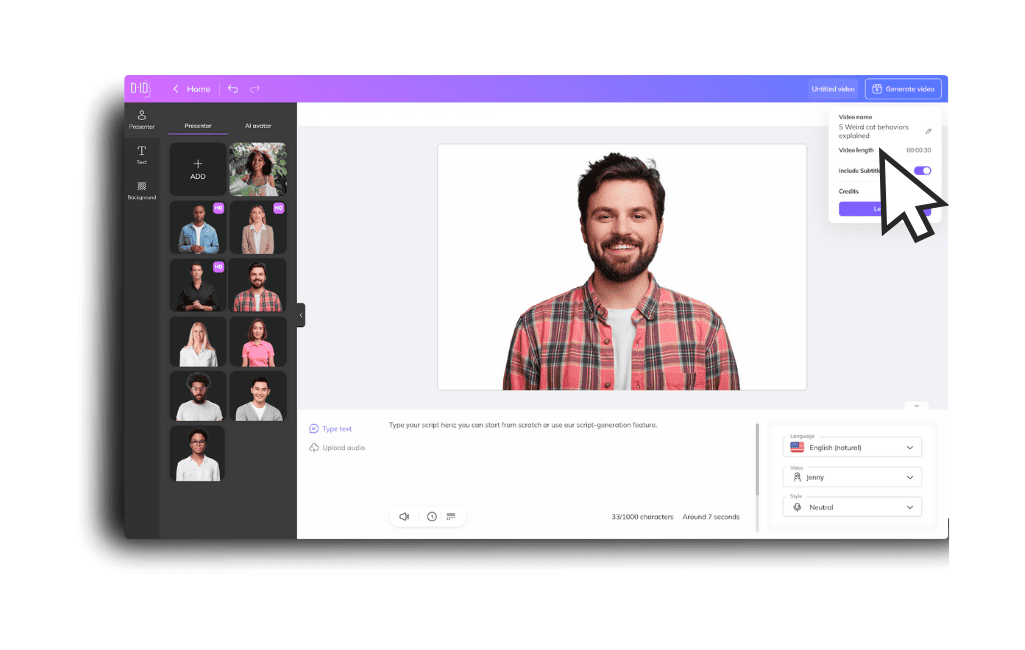
1. Create Your Presenter
Log in to the Creative Reality™ Studio, and click the “Create Video” button to start a new video. On the “Create Video” page, choose from one of the existing presenters or add your own by clicking “Upload your own photo” and selecting the image you want to animate. For best results, use a front-facing photo with clear lighting.
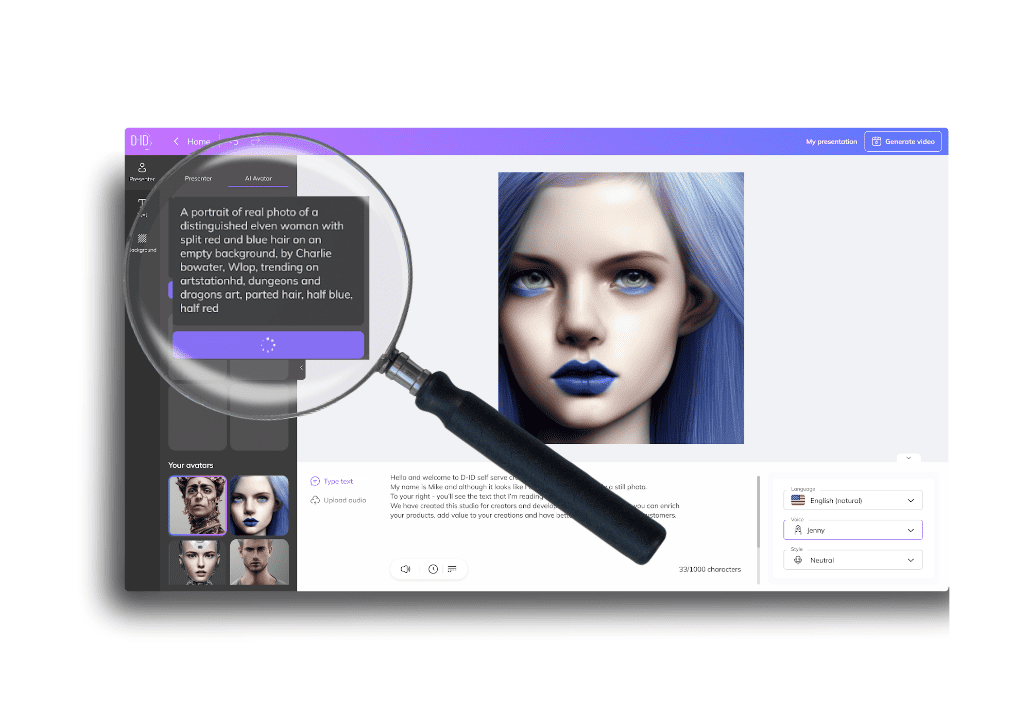
Alternatively, you can utilize the power of generative AI to create a brand-new presenter from scratch. In the AI Avatar generator tool, type a prompt describing your desired look and press “generate”. Choose one of the four options, or generate another set to choose from.
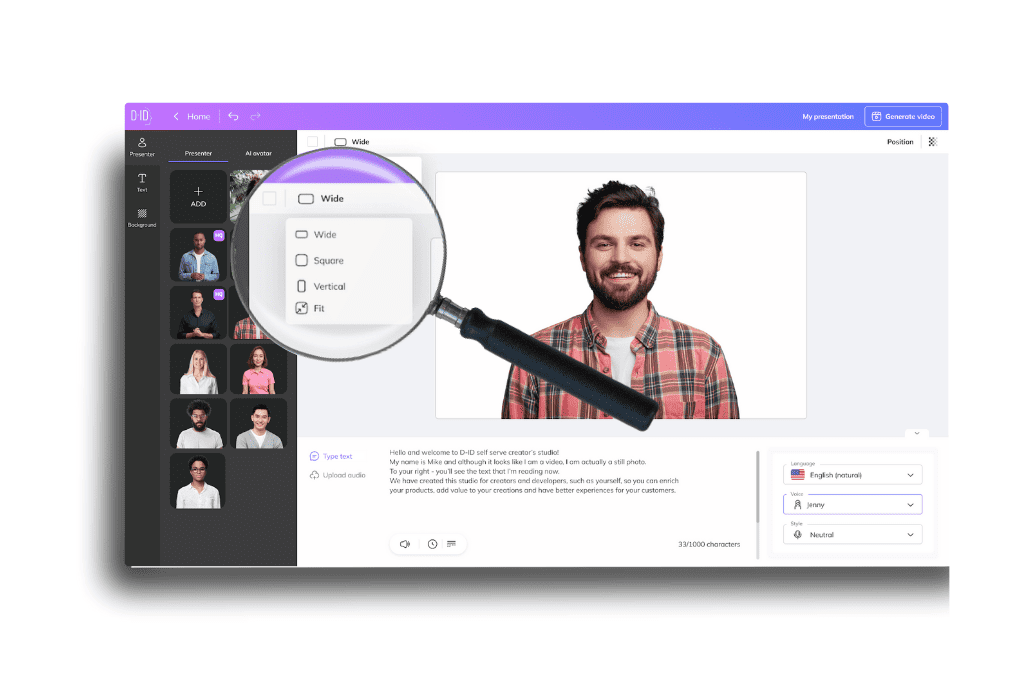
2. Select the Canvas Layout
Canvas Layout lets you choose a layout that best fits your design, letting you create videos for mobile, social media, presentations, or more. The Canvas can be set to wide, square, or vertical, providing more flexibility in the video’s presentation and format.
3. Add Your Script
The script is what determines what your presenter will say in the video. Your script can be up to 5 minutes long (roughly 700 words). If you need help, click on the “magic wand” icon, and GPT will assist you in generating text.
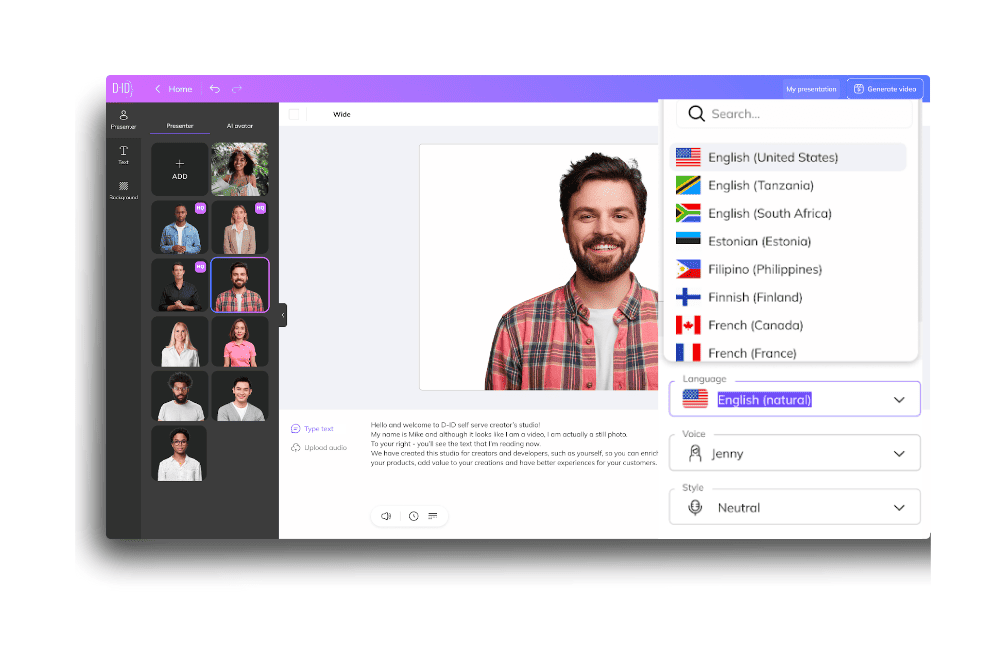
4. Language Selection
The studio offers over 100 different text-to-speech languages and accents to choose from. Note, the language of the script determines the language you should choose from the dropdown menu. If your script and voice language don’t match, the presenter will speak in the accent you have selected.
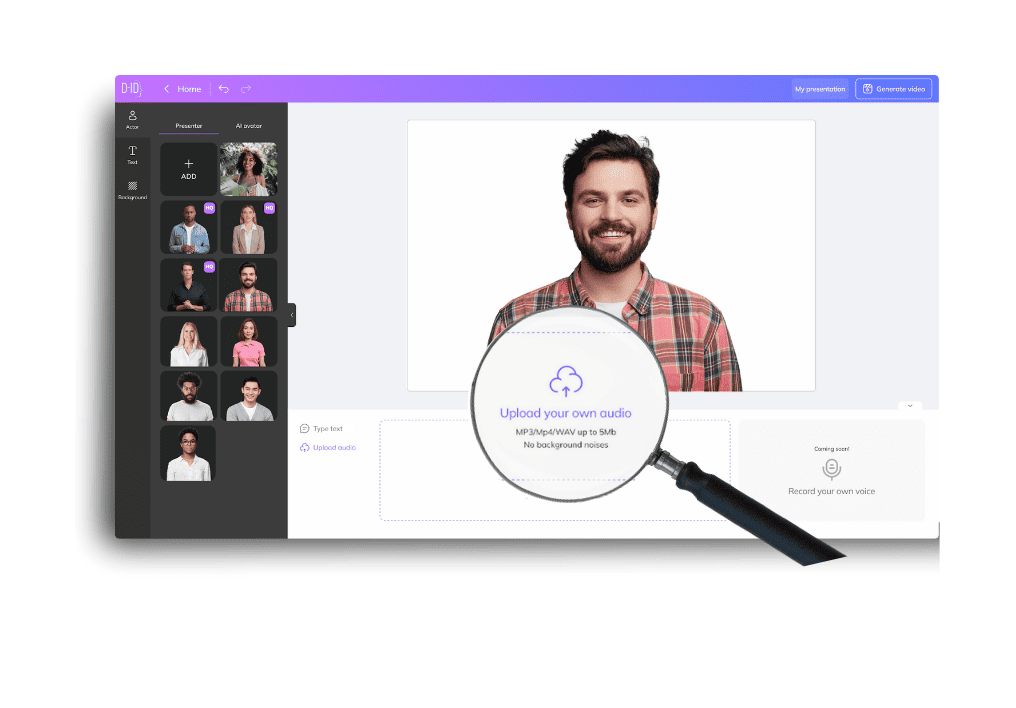
You also have the option to upload your own voice recording, by clicking the “Upload audio” button and selecting an audio file from your computer. Soon, you will also be able to record your voice directly in the studio.
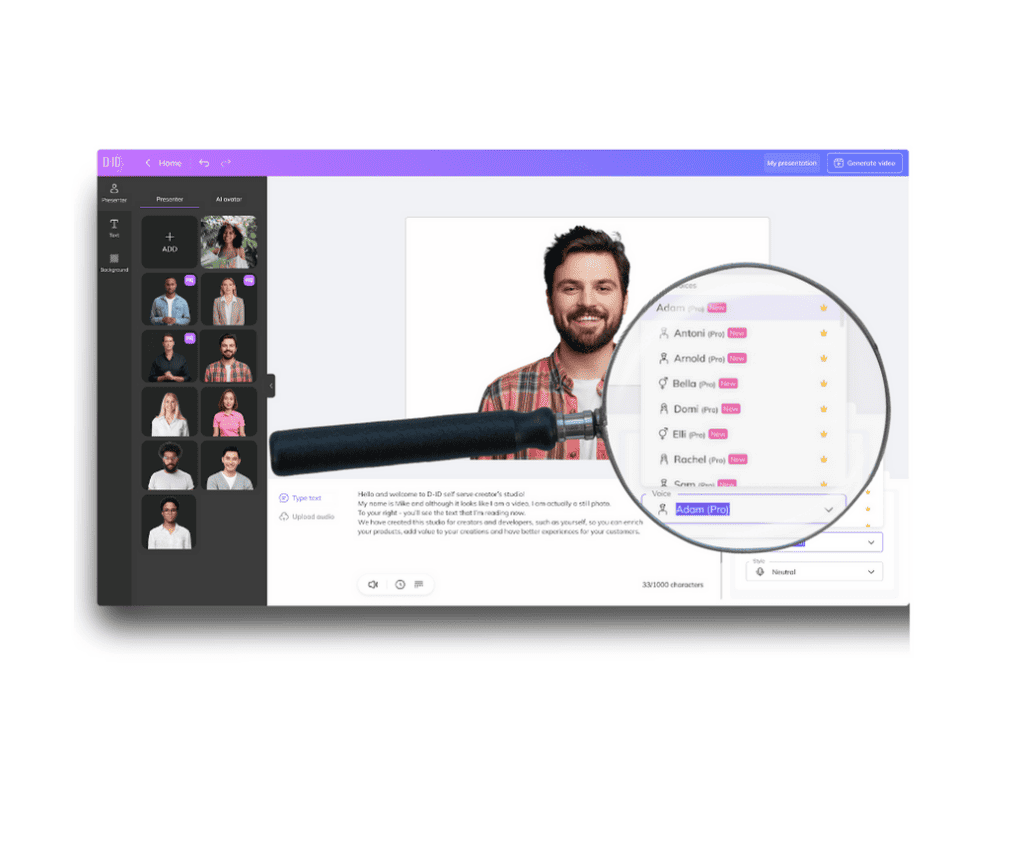
5. Give Your Presenter a Voice
Select the speaker’s gender, and then choose a voice. Each character sounds different, so test them out by clicking the listen icon to find the one you like best. You can try it out as many times as you like until you’re satisfied.
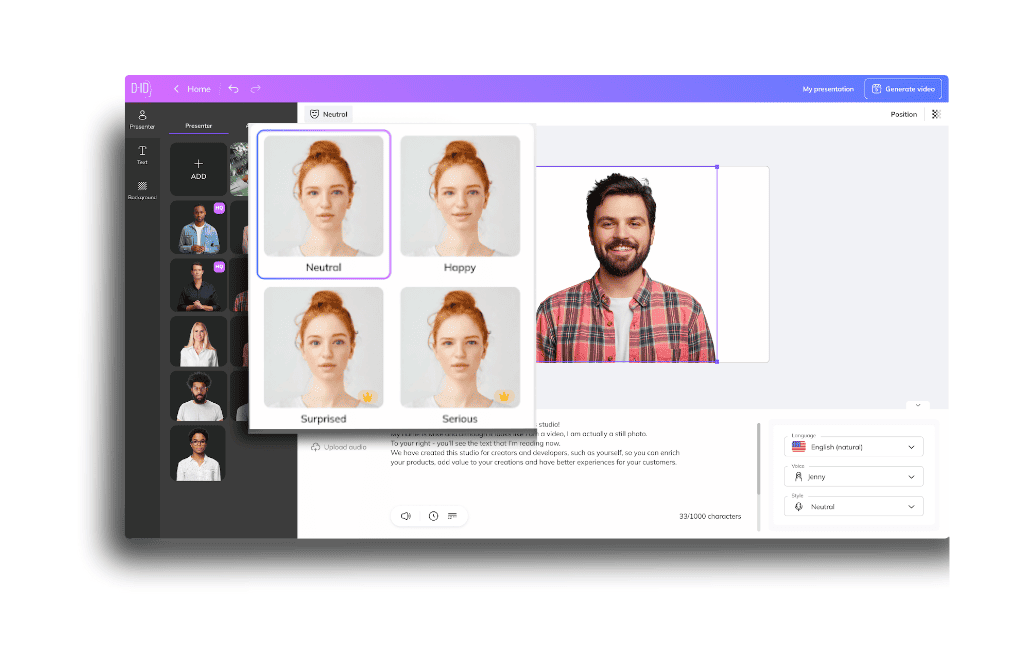
6. Choose your avatar’s expression
Your avatar can be happy, serious, surprised, or maintain a neutral expression. Just click on which emotion you want your presenter to convey and it will be implemented for the duration of the video.
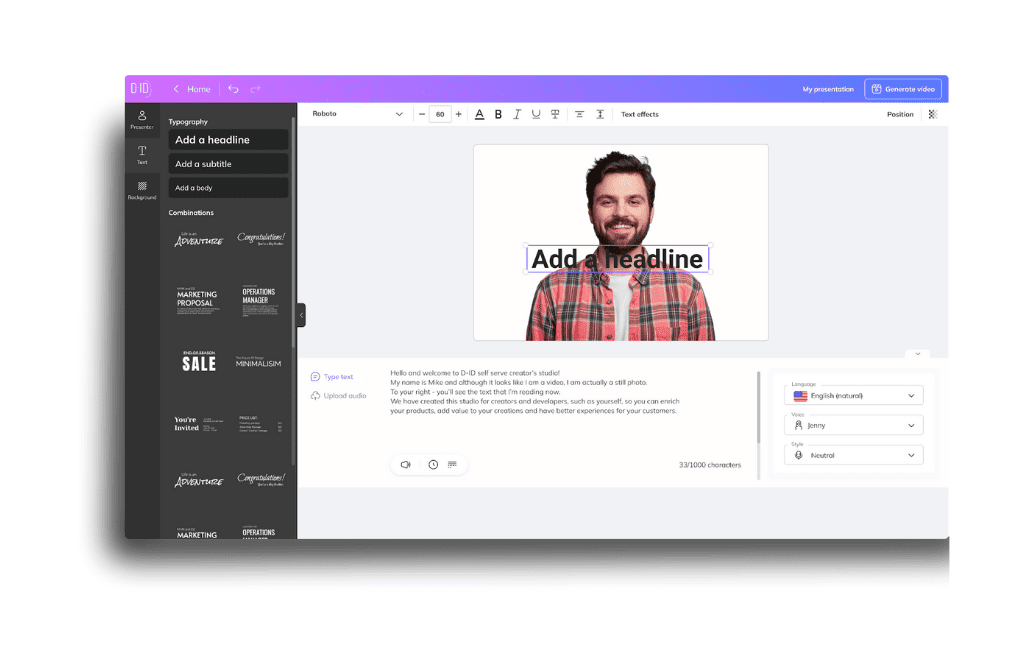
7. Add Text Overlays
You can add text overlays to your video. Click the “text” icon, add the words you want to appear and choose a font and style. You can change the alignment, color, and size and employ a variety of different effects. You can also upload your own fonts by clicking on “My fonts”.
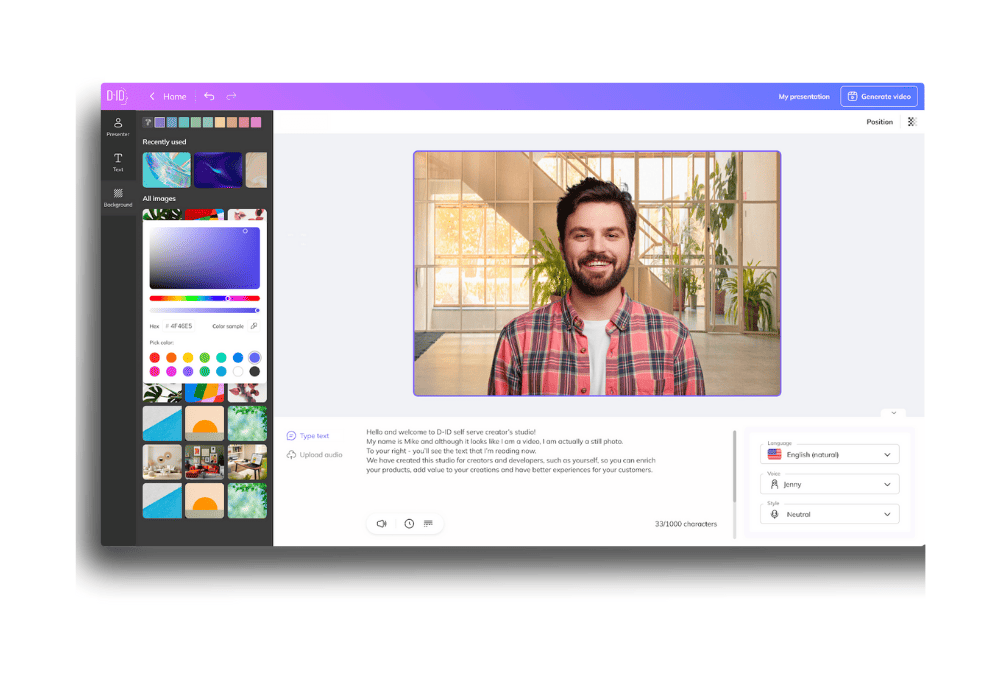
8. Background Selection
You can now determine the background of your canvas. Select from a variety of solid colors and pre-made designs.
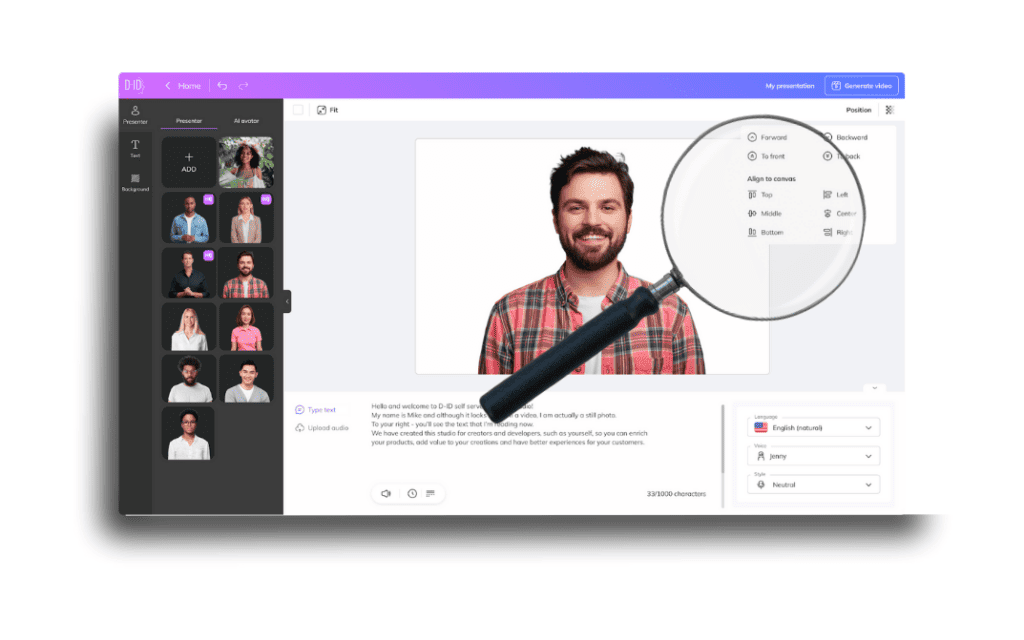
9. Positioning, Layers, and Transparency
You can also determine the positioning, layers, and transparency of your elements. Positioning determines where on the canvas you want the presenter to be. Layers, let you move the different elements backwards or forwards in your design. Transparency lets you choose how opaque you want each element to be.
10. Generating the Video
When you’re ready. give your video a name and click “Generate Video” to begin the creation process.
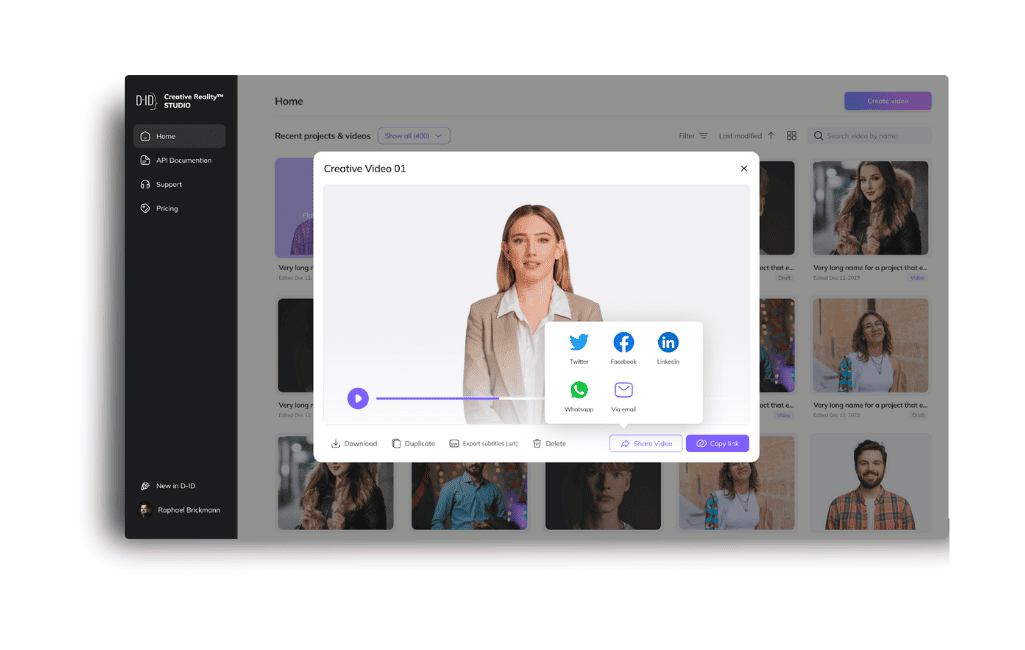
11. Review and Export
Review your video. Make sure the avatar’s movements sync up with the speech, the content is accurate, and the presentation fits your needs. If everything looks good, you can finalize and export your video. The video will be saved to your Video Library. You can either download it as an MP4 file or share it directly to your social media channels.
We hope you enjoy creating unique, engaging videos with D-ID’s Creative Reality Studio. Now what are you waiting for? Get to it!

Was this post useful?
Thank you for your feedback!